


![Download Poco X6 (Pro) Stock Wallpapers [FHD+]](https://pixelroms.com/wp-content/uploads/2024/02/6c0583d5826b96a0c0baa738684e3189-150x150.jpg)
![Download Asus ROG Phone 8 Pro Stock Wallpapers [FHD+]](https://pixelroms.com/wp-content/uploads/2024/02/rog-phone-8-pro-wallpaper-12-stockwallpapersland-150x150.jpg)


In this guide, we will show you the steps to install TWRP Recovery on Infinix Hot 9. OEM has a large number of tools in its arsenal. But despite the sheer number of offers, this is the ninth series to have managed to get the most out of Limelight. While maintaining a balance between the feature set and the price bracket, the user cannot ask for much from these devices.
Then the fact that they have a famous name in their custom development proves to be icing on the cake. Once you’ve unlocked the device’s bootloader, there are a number of tweaks and ways to make a permanent home on your device. These include customizing / flashing the GSI ROM and getting administrative privileges by rooting your device via Magisk.
This in turn will allow you to flash Magus modules, the Exposed Framework, and many other tweaks. However, before you can flash a zip or IMG file, you will need to install Working Custom Recovery. And in this guide, we will help you. Here are the detailed steps to install TWRP Recovery on your Infinix Hot 9. Follow the instructions.
How to Install TWRP Recovery on Infinix Hot 9
The under commands are listed below separate sections for ease of understanding. Make certain to observe the equal series as mentioned. Pixelroms and its contributors wouldn’t be held accountable in case of a thermonuclear war, your alarm doesn’t wake you up, or if some thing takes place in your tool and statistics via way of means of appearing the under steps.
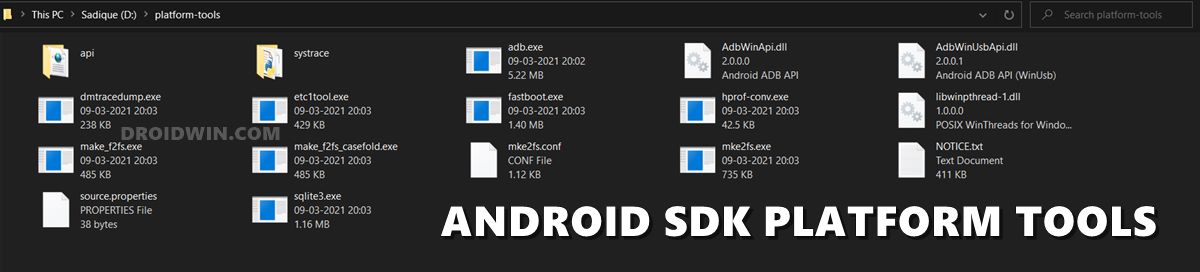
STEP 1: Install Android SDK
Download : Link
First and foremost, you may must deployation the Android SDK Platform Tools to your PC. This is the legit ADB and Fastboot binary supplied with the aid of using Google and is the simplest advocated one. So down load it after which extract it to any handy vicinity to your PC. Doing so will provide you with the platform-gear folder, with the intention to be used at some stage in this guide.
STEP 2: Enable USB Debugging and OEM Unlocking
Next up, you’ll need to allow USB Debugging and OEM Unlocking in your tool. The former will make your tool recognizable with the aid of using the PC in ADB mode. This will then let you boot your tool to Fastboot Mode. On the alternative hand, OEM Unlocking is needed to perform the bootloader unlocking process.

So head over to Settings > About Phone > Tap on Build Number 7 times > Go back to Settings > System > Advanced > Developer Options > Enable USB Debugging and OEM Unlocking.
STEP 3: Unlock Bootloader on Infinix Hot 9
After that, you need to unlock the bootloader on your Infinix Hot 9. Note that this process will erase all data and may even void the warranty of the device. So if all this is fine and good then refer to our comprehensive guide on how to unlock bootloader on Infinix Hot 9 / Play / Pro.
STEP 4: Download TWRP Recovery for Infinix Hot 9
- Get hold of the TWRP Recovery for your device from the below link.
X680B ( Variant )
X680B-H6215EFIJ-Q-OP

X680F ( Variant )
X680F-H6116P-Q-OP - ( 1 )
X680F-H6116P-Q-OP - ( 2 )

X680 ( Variant )
X680-H6116DE-QGo-OP
- Once downloaded, rename the file to twrp, so that the complete name becomes twrp.img.
- Then transfer the twrp.img file to the platform-tools folder on your PC.
STEP 5: Get Vbmeta for Infinix Hot 9
To disable Variety Check, you must now grab the vbmeta file for your device. So download the stock firmware for your device and extract it to any suitable place on your PC. Then copy the vbmeta.img file from there and move it to the Platform Tools folder on your PC.
STEP 6: Boot Infinix Hot 9 to Fastboot Mode
- Connect your device to the PC via USB cable. Make sure USB Debugging is enabled.
- Then head over to the platform-tools folder, type in CMD in the address bar, and hit Enter. This will launch the Command Prompt.
- Type in the following command in the CMD window to boot your device to Fastboot Mode
adb reboot bootloader
- Now type in the below command to verify the Fastboot Connection
fastboot devices
- If you get a device ID followed by the fastboot keyword, then the connection stands successful and you may now proceed ahead to install TWRP on your Infinix Hot 9.
STEP 7: Disable Verity Check on Infinix Hot 9
Your next step is to disable the verification check by flashing the vbmeta file. To do this, follow the command below in the CMD window [which is open in the Platform Tools folder].
fastboot --disable-verity --disable-verification flash vbmeta vbmeta.img
STEP 8: Install TWRP and Root on Infinix Hot 9
- Type in the below command in the CMD window to flash the TWRP Recovery onto your Infinix Hot 9
fastboot flash recovery twrp.img
- You may now boot your device to TWRP using the following command and then flash the desired files
fastboot reboot recovery
- Once done, you could then boot your device to the OS from Reboot > System.
that’s it. Here are the steps to install TWRP Recovery on your Infinix Hot 9. We will contact you with a solution as soon as possible.


![Download Poco X6 (Pro) Stock Wallpapers [FHD+]](https://pixelroms.com/wp-content/uploads/2024/02/6c0583d5826b96a0c0baa738684e3189-768x561.jpg)
![Download Asus ROG Phone 8 Pro Stock Wallpapers [FHD+]](https://pixelroms.com/wp-content/uploads/2024/02/rog-phone-8-pro-wallpaper-12-stockwallpapersland-768x576.jpg)


+ There are no comments
Add yours